3D Printed Game Gear Shelf
I designed a custom shelf for displaying Sega Game Gear games.
Design
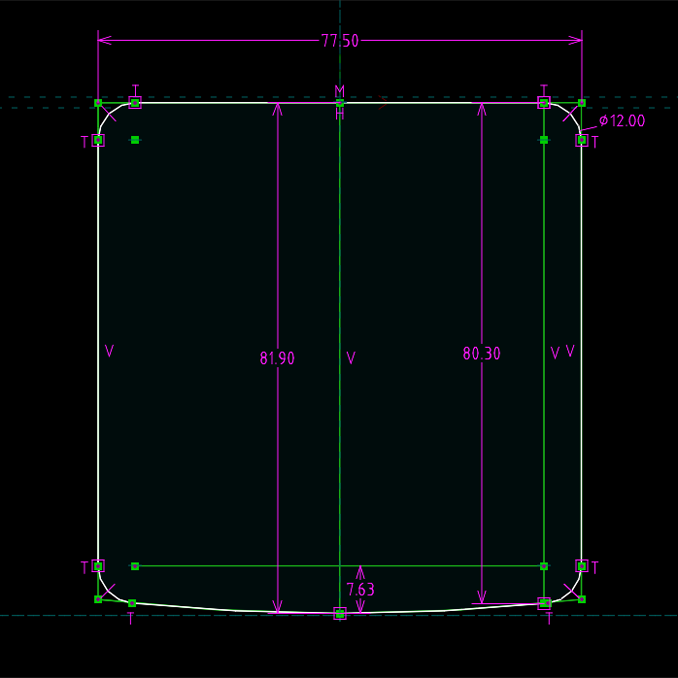
I started by making a 2D outline of a Game Gear game case in Solvespace. The constraint solver allowed me to take a few measurements and accurately reproduce the large curve on the bottom, which would otherwise be difficult to measure.
However, Solvespace is not capable of the type of 3D curves needed to fully model the case, so for the next step I moved to Plasticity.
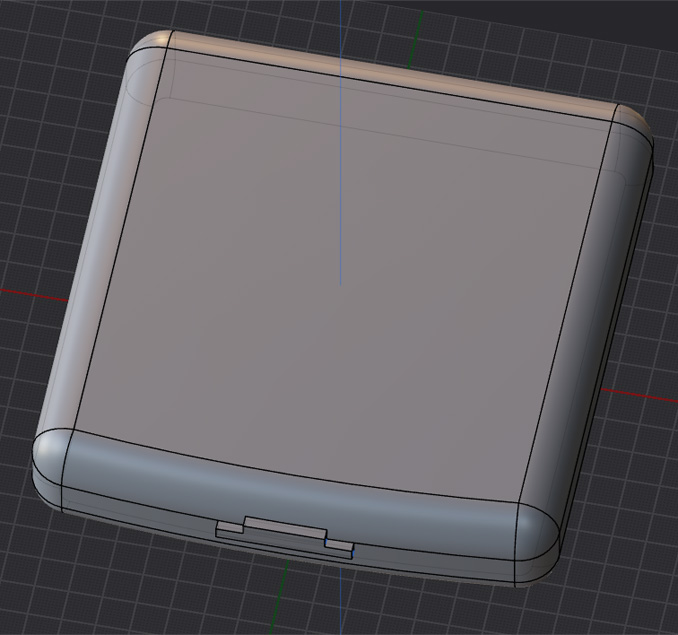
Plasticity is not free, but it's not a subscription either. It's quite good at making rounded edges. After I had an accurate model of the case, I arranged three of them in a display-shelf-like configuration.
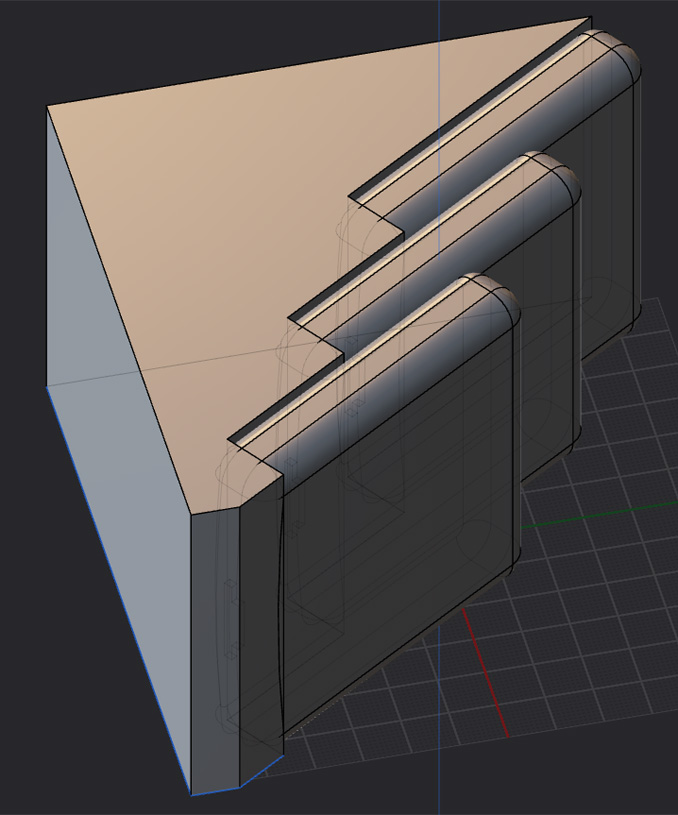
Then used a boolean operation to cut out the main body of the shelf and smoothed it out with a bunch of fillets.
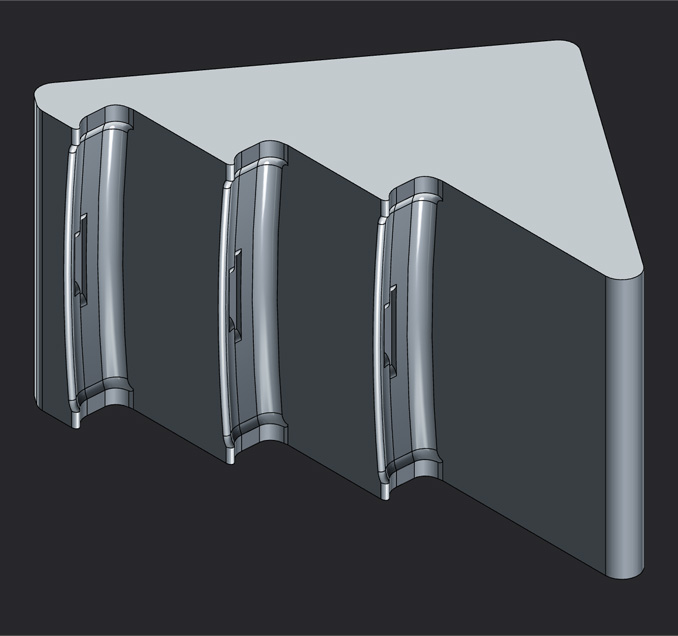
I then used that shape to cut out the end caps.
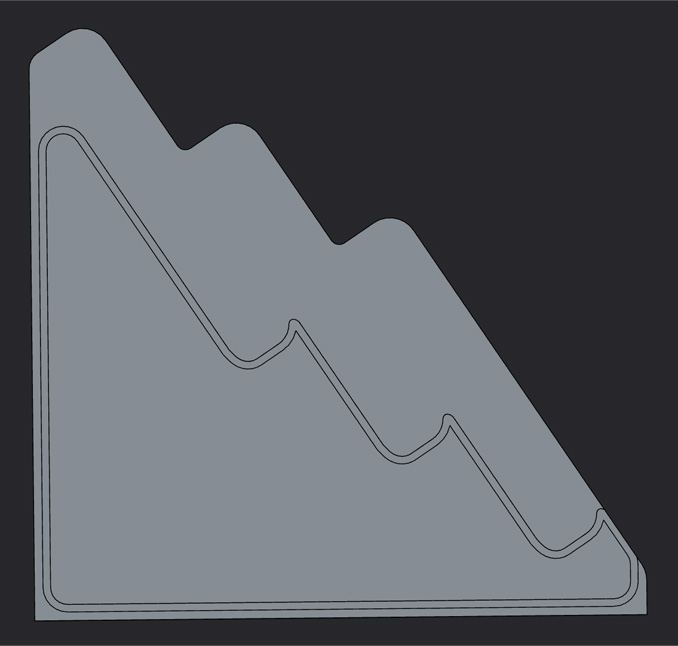
I made an "end cap" and a "middle cap" so the shelf can be extended to multiple segments. The groove is designed with 0.2mm of clearance on each side and I found this gives a good tight fit on my printer.
Print
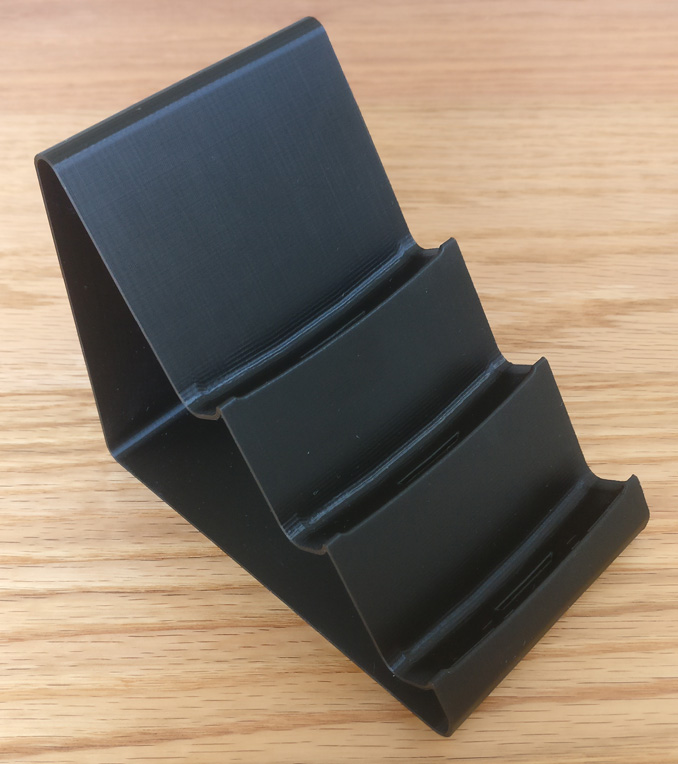


I only have 6 Game Gear games, and don't really have plans for acquiring more. So I printed parts for a two segment shelf. Center piece is printed with 3 walls at 0.4mm width and no infill. The end caps are printed with default settings. Your elephant's foot compensation should be reasonably dialed in.
The fit between the tube section and the endcaps is important. You'll want to print an end cap, then print a thin slice of the middle cradle to make sure it fits before comitting to the full print.
Assembly
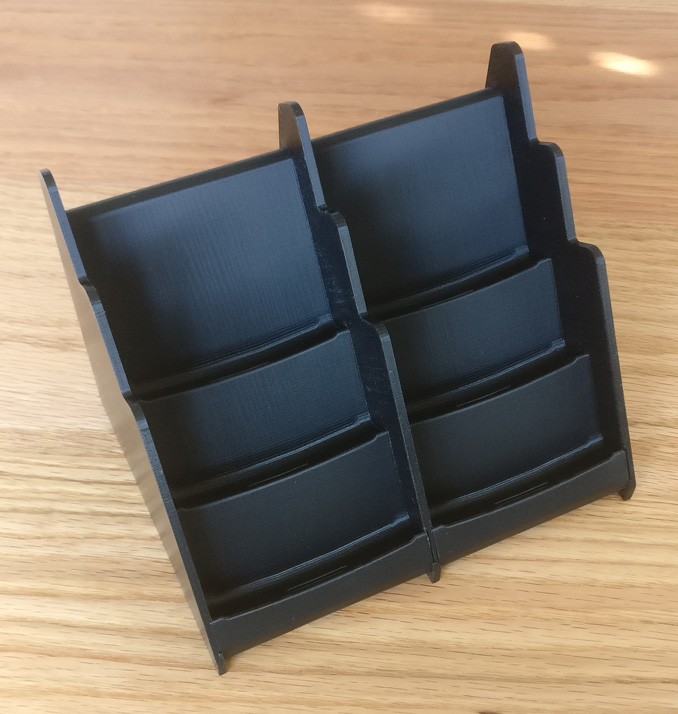
The parts just slot together and everything is quite rigid. I used weld-on 4 solvent glue to permanently hold it together.
Conclusion

Looks good. It's the same height as a CD jewel case or Gameboy box, so it fits right in on the shelf.
Download
Contains STL files and CAD files.
Also available on:
Also available on:
Comments
2024-04-11 18:46:55
You can't keep getting away with setting these unrealistic standards for gaming shelves.
Cool2024-04-11 21:33:43
Cool
yummy plastic2024-04-12 22:35:47
Wonderful plastic machine creation
anonymous2024-10-12 02:41:08
he had to take a break from drawing lesbian porn to make a nice shelf to post on his blog 13 people read


