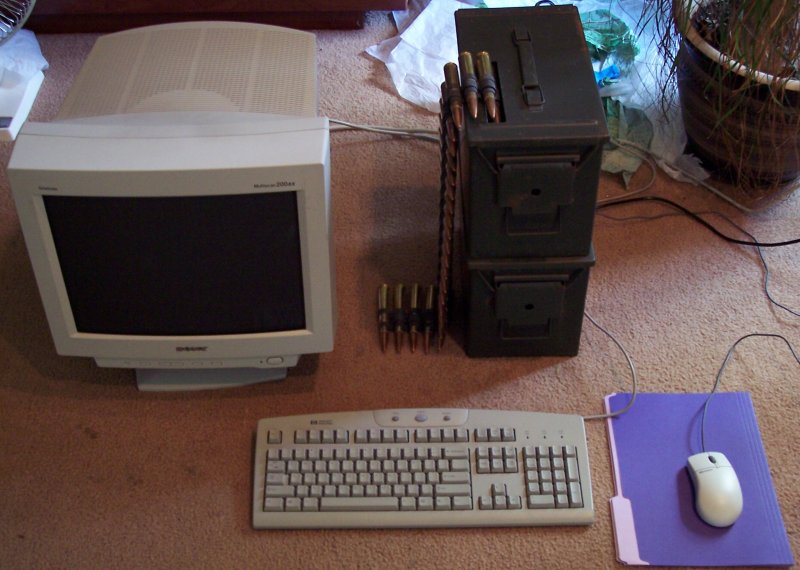
I started with the only PC I have that isn't using SATA drives. I don't know if it would have made a difference combining SATA and IDE, but I decided not to risk it.
Yes, that is a PC on the right. One of my other hobbies is modifying PC cases. It would have been a lot less hassle if I had a normal case that I could have just taken the side panel off to access the internals.
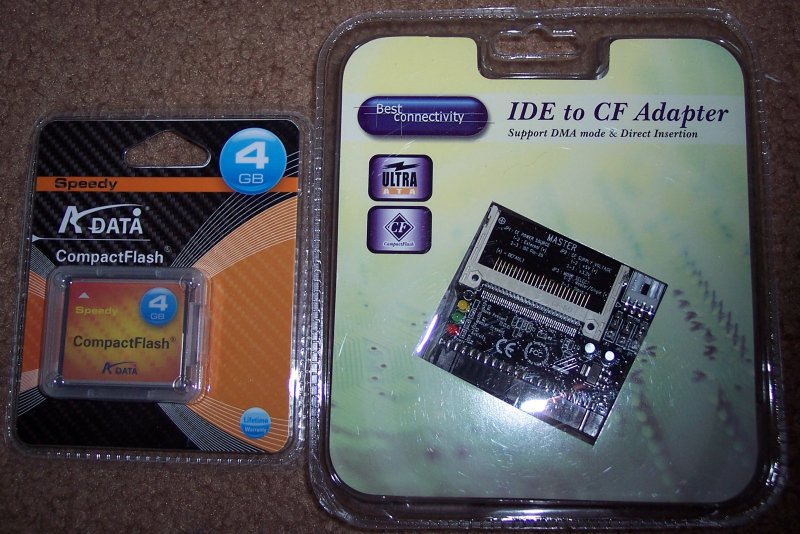
Here are the compactflash to IDE adapter and 4GB compactflash card that I bought from Newegg.
One issue with using compactflash cards is that the speed may be too fast or slow for the arcade hardware to recognise. If this flash card doesn't work, a different brand/speed might.

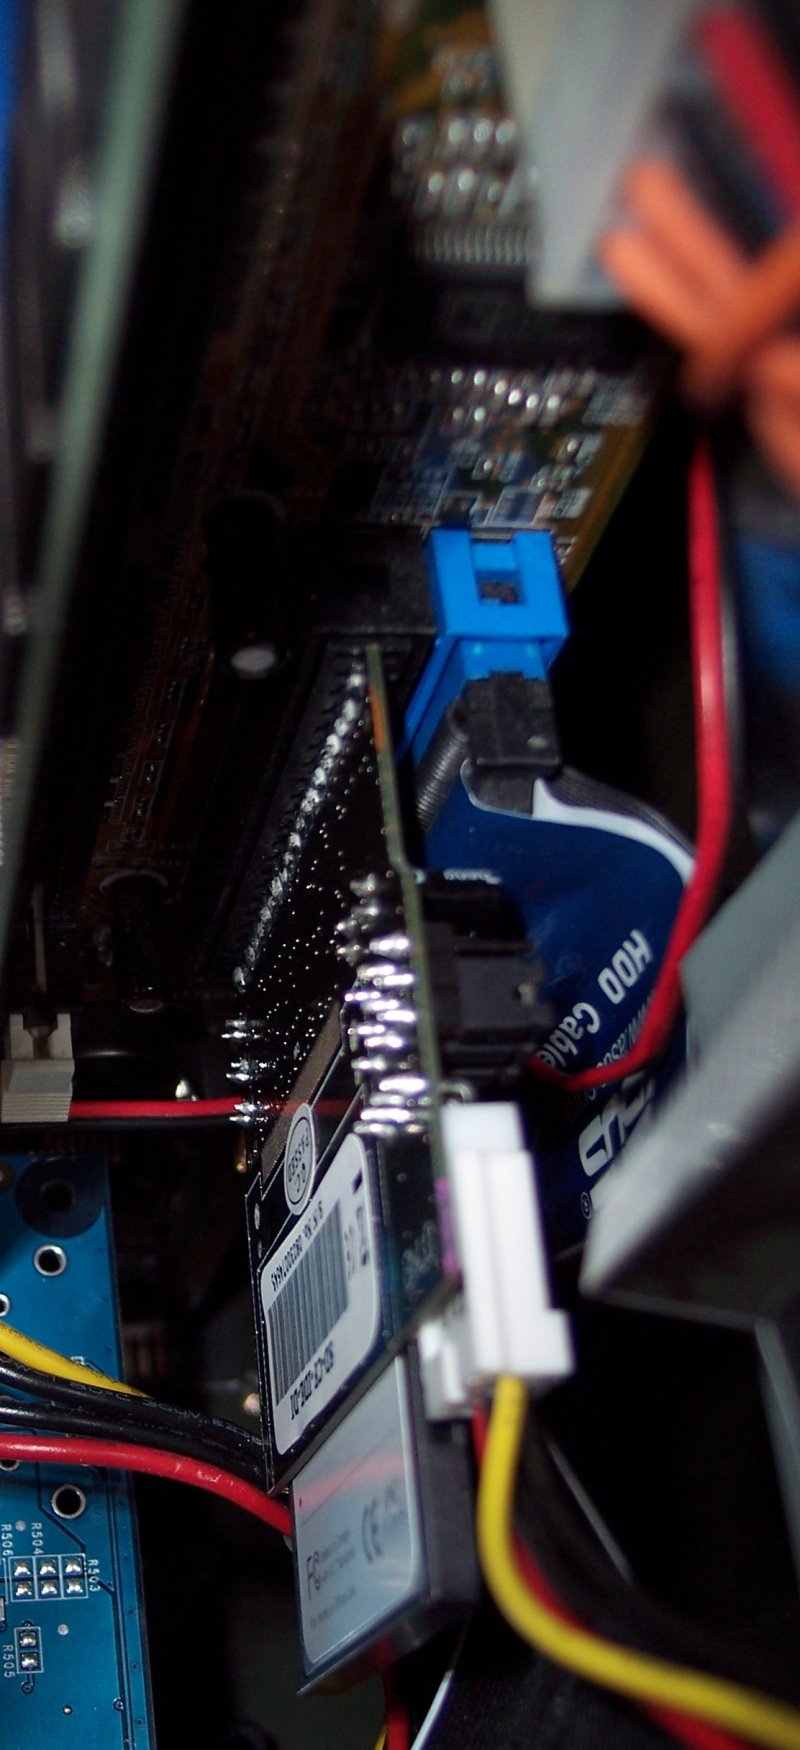
The compactflash card simply plugs into the adapter. There are jumpers for master/slave and voltage, but the defaults were already set for what I needed, 5v and master.
Note that there are a few different types of adapters, including some that have pins at the IDE side, so you can plug them into a regular IDE cable. This model plugs right into the motherboard slot.
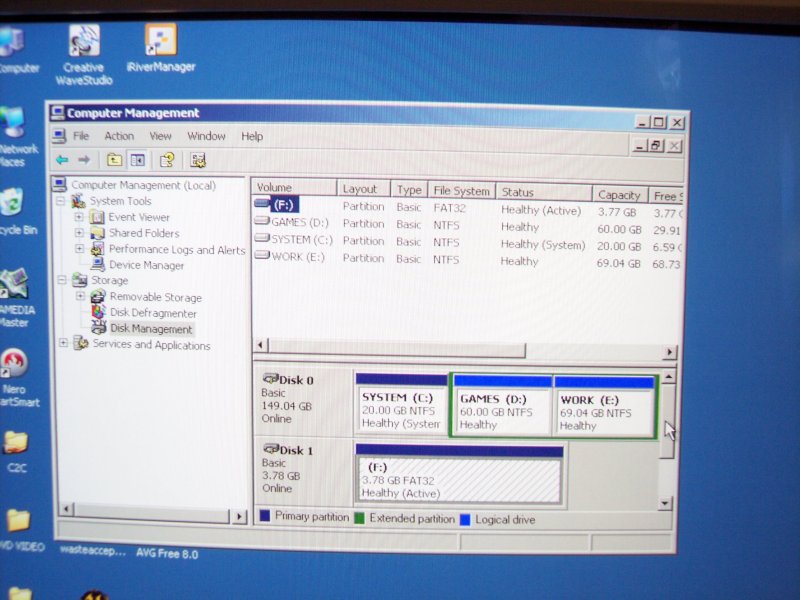
Next I booted the PC, which is running Windows XP Home. A pop up notification window told me that the PC found the new hardware.
Right click on "My Computer", then select "Manage" and finally "Disk Management".
In the lower right section of the display you can see that this computer has one hard drive which is partitioned into 3 drives, and the compactflash drive. The important thing to note is that the compactflash drive "F" is shown as "Disk 1". This is the drive that will recieve the Gauntlet Legends hard drive image.
I copied the chdman.exe program and the gauntleg.chd file to the hard drive. For reference, I'm using the chdman.exe from MAME V.103.
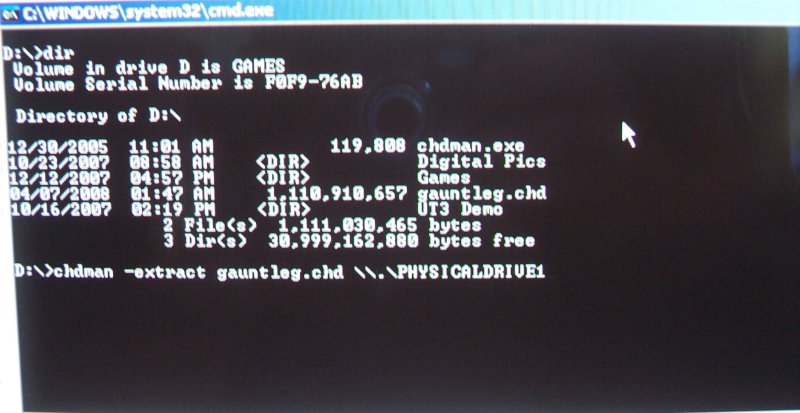
Open a DOS window and navigate to the location of the chdman.exe program, and the hard drive .chd file. In this case they're both in the root directory of my D: drive.
Enter the following command to begin the .chd file extraction to the
compactflash card:
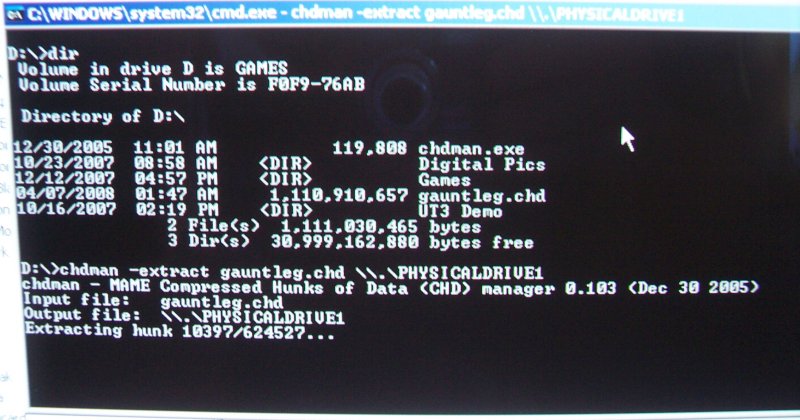
chdman -extract gauntleg.chd \\.\PHYSICALDRIVE1
This will extract the gauntleg.chd file to the "Disk 1"
that you found above.
To use this for a different game or hard drive number, simply replace
the gauntleg.chd and/or PHYSICALDRIVE# with the image file and disk number
of your system.
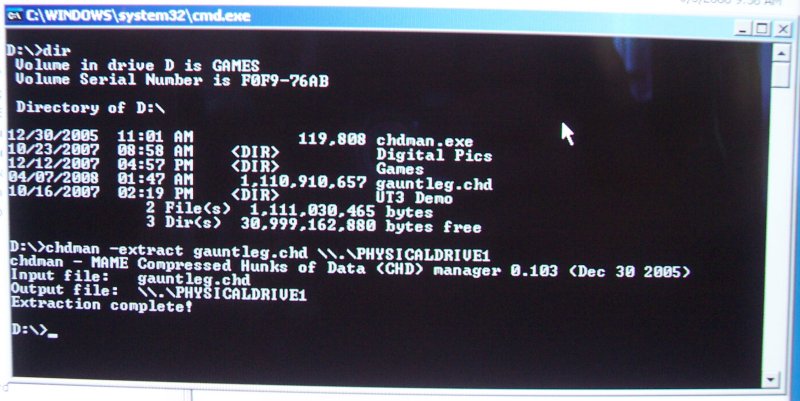
The last line on this screen shot shows the Extracting hunk information. The number on the left increases as the data is written to the compactflash. I didn't time it, but I estimate that it took 15 minutes to transfer all the data to the compactflash.
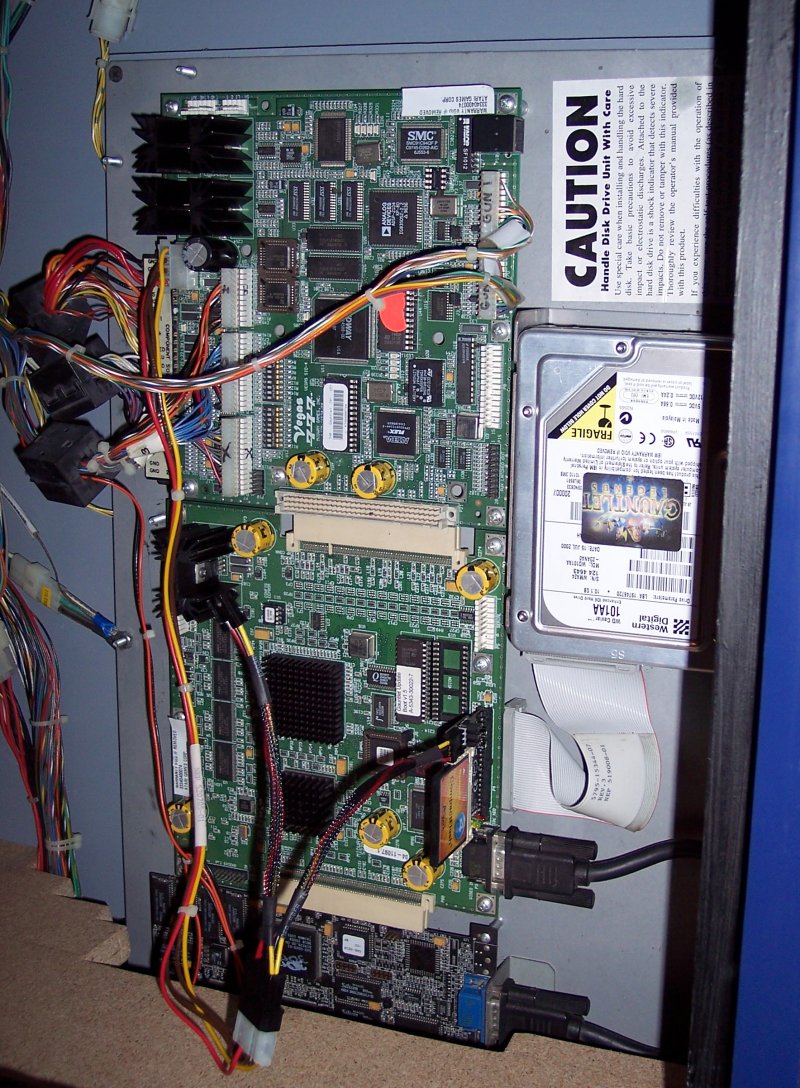
The game uses a regular sized hard drive plug to power the drive. I added a splitter cable with floppy drive style connectors to power the compactflash. I then unplugged the old hard drive ribbon cable, and plugged the compactflash adapter in, making sure that it was plugged in the right way. I've left the hard drive in the cabinet for storage.
Since this is a home use only machine, I simply plugged the compactflash adapter into the PCB. If this was to be used in an arcade I would have used some silicone or hot glue to help hold the card in the game. It seems tight enough, but in an arcade environment you never know.
When I turned it on for the first time, I got the dreaded "3 taps and you're out" message that signals a bad hard drive. I went to the next room to get my camera but by the time I got back to take the picture the game was up and running. As of the time of writing this page, I have only turned it the one time so far. I played 3 different characters, and two different worlds with no issues whatsoever. I have not yet tried to save a game status and then reload it. I'll do that at a later time.
Small update - I've turned it on 3 more times, and every time I get the "3 taps" message. Each time it continues to load normally about 30 seconds after the error message.